Interior Painting DIY Tips
Interior painting of the home is an easy method of changing the overall looks of the home, by adding a unique character to the walls. Interestingly, this is an inexpensive way of bringing out the beauty in your home.
Interior Painting Preparation
Before commencing painting, here are some preparations that should be done to get the desired end product.
- All holes and imperfections should be filled with spackle. After it dries, smoothen the patches with abrasive materials. For cracks, widen them slightly before applying spackle. or else they will not sit perfectly.
- With a scraper, scrape away any old paint hanging loose on the wall, making the area smooth. Depending on the level of dirt, there may be the need to clean the wall, dusting off any dirt.
- Paintable caulk should be used to fill gaps in preparation for paint. Putty for wood should be used to fill any imperfections before sand smoothing.
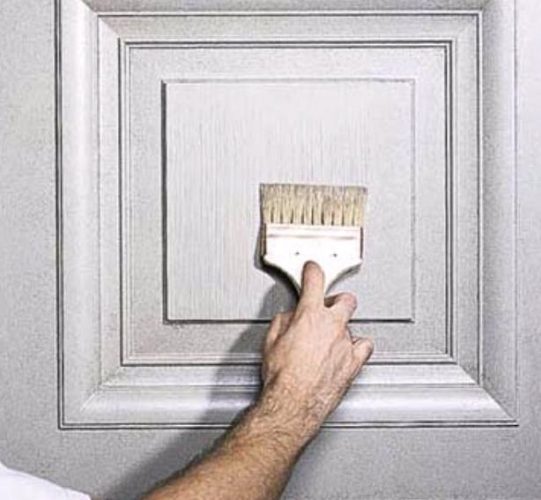
- It is recommended that priming is done as this hides dark stains, helping the paint job last longer. When painting woodwork that is exposed, this is compulsory. There are lots of primers that adhere to glossy surfaces, which will allow you skip sandy surfaces.
- Paint must be stirred before application. Never apply paints without stirring as this ensures a proper mix, making your job more consistent.
- You may need to use a painter’s tape to cover some areas before painting, you can get one for yourself as it is labeled as such. It often comes in green or blue color.
Tools for Interior Painting
Residential interior painting is done with special set of tools. You will need to get these before commencing the job.
- You will need a spackle, fine grit sandpaper, putty knife, damp rag which is lint free. If you are working on the trim, a paintable caulk would be required.
- To paint a typical room, you’ll need paint, a stirring stick, paint brush and a small bowl, roller, roller extension pole, roller tray and cover. Having a drop cloth to protect the floor is a nice idea.
- There is a 5-in-1-Tool. This is highly recommended for anyone who wants to perform residential interior painting. It is used for opening the paint can, scraping loose paint off the wall, opening cracks in the wall and performing a whole lot of other functions.
- A good quality 2.5” brush will serve for painting corners and edges while the 2” size is recommended for windows.
- A roller cover would be needed to prevent spills of paints. Go for quality ones, as cheap ones can make the place a whole lot messy.
The Paint Color
 Choosing a color is more of an art as there is no rule of thumb. However, here are some pointers that could act as a guide.
- Do not request for a color and then ask for a lighter version or half strength. Some people do this and it is not recommended. If you feel a color is too dark, request a lighter color.
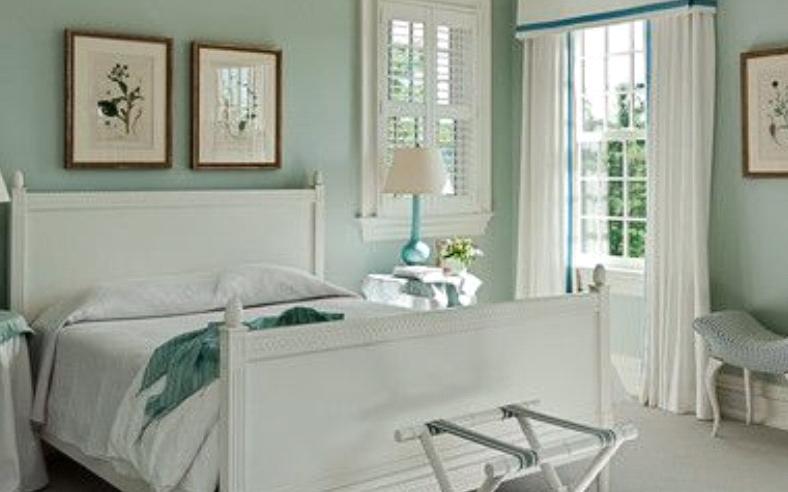
- There is no rule that says the ceiling must be white, it can be any color, preferably a lighter color. If the wall color is light enough, the same color can be used for the wall.
- In choosing paint colors, go for colors that would blend with the overall decorations of the home.
- Paint companies offer different samples. These can be tried out on the walls to have a view of how it turns out.
Step By Step Guide To Painting The Room
Here is a step by step guide to painting the interior portions of your home. This would provide a general guide in going about this.
- Clear the room of all furnishings, get your tools and requirements and lay the cloth.
- If there need be, with a scraper, scrape of all loose paint
- Nails and imperfections should be removed from the wall, all cracks and holes should be filled with spackle.
- If need be, walls and trims should be cleaned with a damp cloth. Caulk along the trim, make use of a painter’s tape if required.
Painting the Room
Before the room can be painted, it must first be primed.
- Pour the primer into a small bowl and apply with a brush.
- If you are painting the wall and trim at the same time, it is recommended you start with the walls before the trim.
- Paint with vertical, consistent strokes. Do not switch from vertical to horizontal strokes, as this would make the outcome inconsistent. Wait for the room to dry as there may be need for a second coat of paint.
- If you used tape, wait for the paint to completely dry before removing the paint. To be very sure, you may have to wait for a day.
Residential interior painting if done professionally, is a very demanding project, and it’s not an easy one. We are local professional painters, we have been providing our expert painting services to home owners near you, so don’t be afraid to hire a painting contractor to do the job – you’ll be pleased with the results.
Call today 201-666-3712 for a free Quote.
Also be sure to check our Staten Island home painting solutions and our local painting projects.